Baby Diaper Machine: Component Assembly and Cutting System Explained

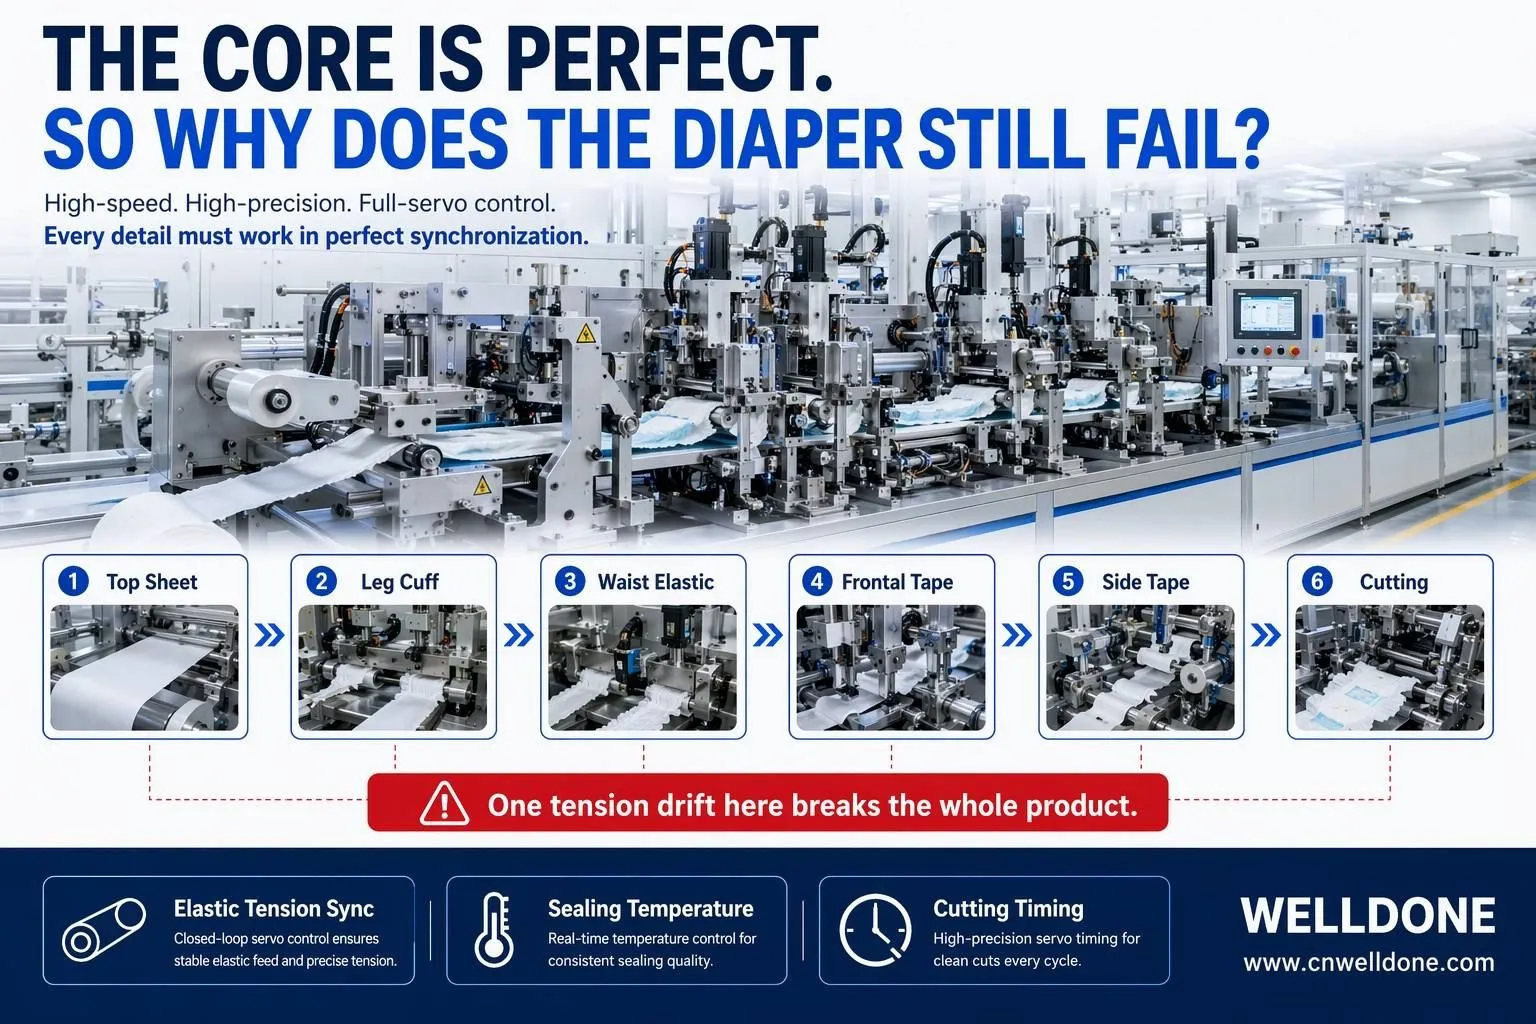
Baby Diaper Machine: A Complete Guide to Component Assembly and Cutting — Part 2 of 3
Part 1 of this series covered the front end of a baby diaper production line — from raw material selection through the forming drum to the compressed core ready for the next stage. That section is where core quality is determined.
This section — the middle of the line — is where the diaper actually becomes a diaper. The core enters as a shaped block of fluff and SAP. It leaves as a fully assembled product with a top sheet, back sheet, leg cuffs, waist elastic, frontal tape, side tape, embossed patterns, and individual cut edges. Twelve or more separate materials are applied to that core, at speed, in synchronization, without letting any single application error propagate through the rest of the product.
Every one of these stations is a potential failure point. Every one of them requires precise tension control, precise timing, and precise placement — and when any one of them drifts, the finished product loses quality in a way that is often traced back to the wrong section of the line.
This is where the difference between a well-configured line and a mediocre one becomes visible. And it is where most first-time factory operators need the most careful walkthrough before production starts.
"The core forms the diaper's function. The middle section forms the diaper's structure — and structure is what makes a product sellable to the market."
1. Top Sheet Lamination: The First Layer That Meets the Core
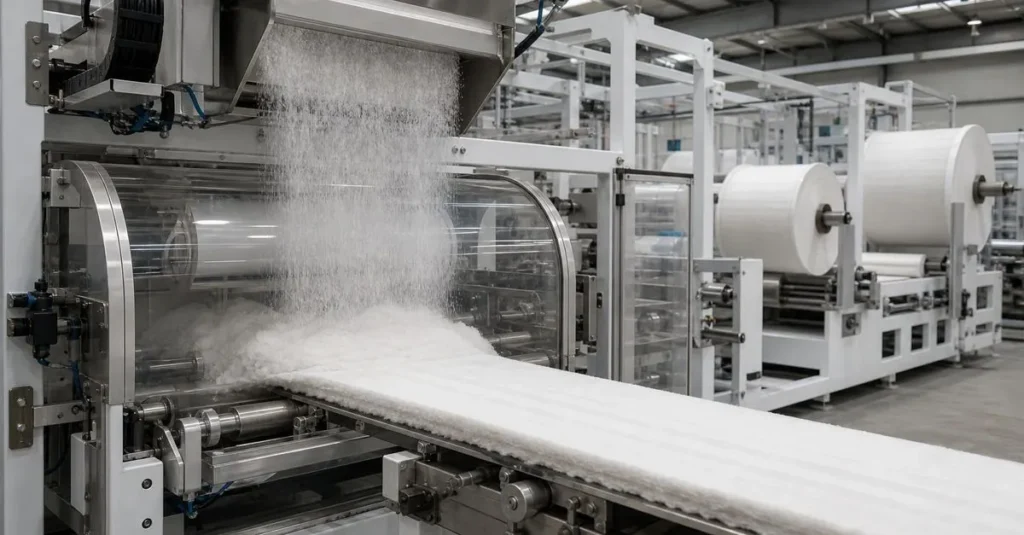
The top sheet is the soft non-woven layer that sits against the baby's skin. In the production line, it is the first component applied to the compressed core after it exits the front-end forming section.
Top sheet lamination requires three things to work correctly: consistent non-woven tension from the unwinding station, uniform hot melt adhesive application across the core surface, and precise alignment between the top sheet position and the core position as both move down the line.
Tension is the variable that causes the most invisible problems. If the top sheet is fed with slightly too much tension, it stretches as it enters the lamination station — and stretched non-woven has different softness properties than unstretched non-woven. The finished product feels different against the skin. Consumers may not be able to articulate what changed, but they can feel it.
Adhesive application matters equally. Hot melt adhesive is applied through a spray or slot die onto the core surface before the top sheet is laminated. If the adhesive is applied at too high a temperature, it burns through thin non-woven materials, creating small transparent spots that consumers see and reject. If it is applied at too low a temperature, the bond is weak and the top sheet peels away from the core during use.
The alignment tolerance is tight. The top sheet must be centered on the core within a few millimeters — typically ±2mm for a standard baby diaper. Beyond that tolerance, the leg cuff and other subsequent components cannot be applied correctly, and every station downstream compounds the misalignment.
2. Leg Cuff Application: The Component That Prevents Leakage
Leg cuffs are the raised elastic barriers along the two long edges of the diaper that seal against the baby's thighs during use. They are the primary mechanical defense against side leakage — and they are one of the most demanding component applications on the line.
Each leg cuff consists of a narrow non-woven strip, one or more elastic threads or strands stretched to a defined percentage, and an adhesive application that bonds the elastic to the non-woven and the assembly to the diaper body. All three elements — the non-woven strip, the elastic, and the adhesive — must arrive at the application station simultaneously, at the correct tension, and be applied to the diaper with the leg cuff geometry that the product design specifies.
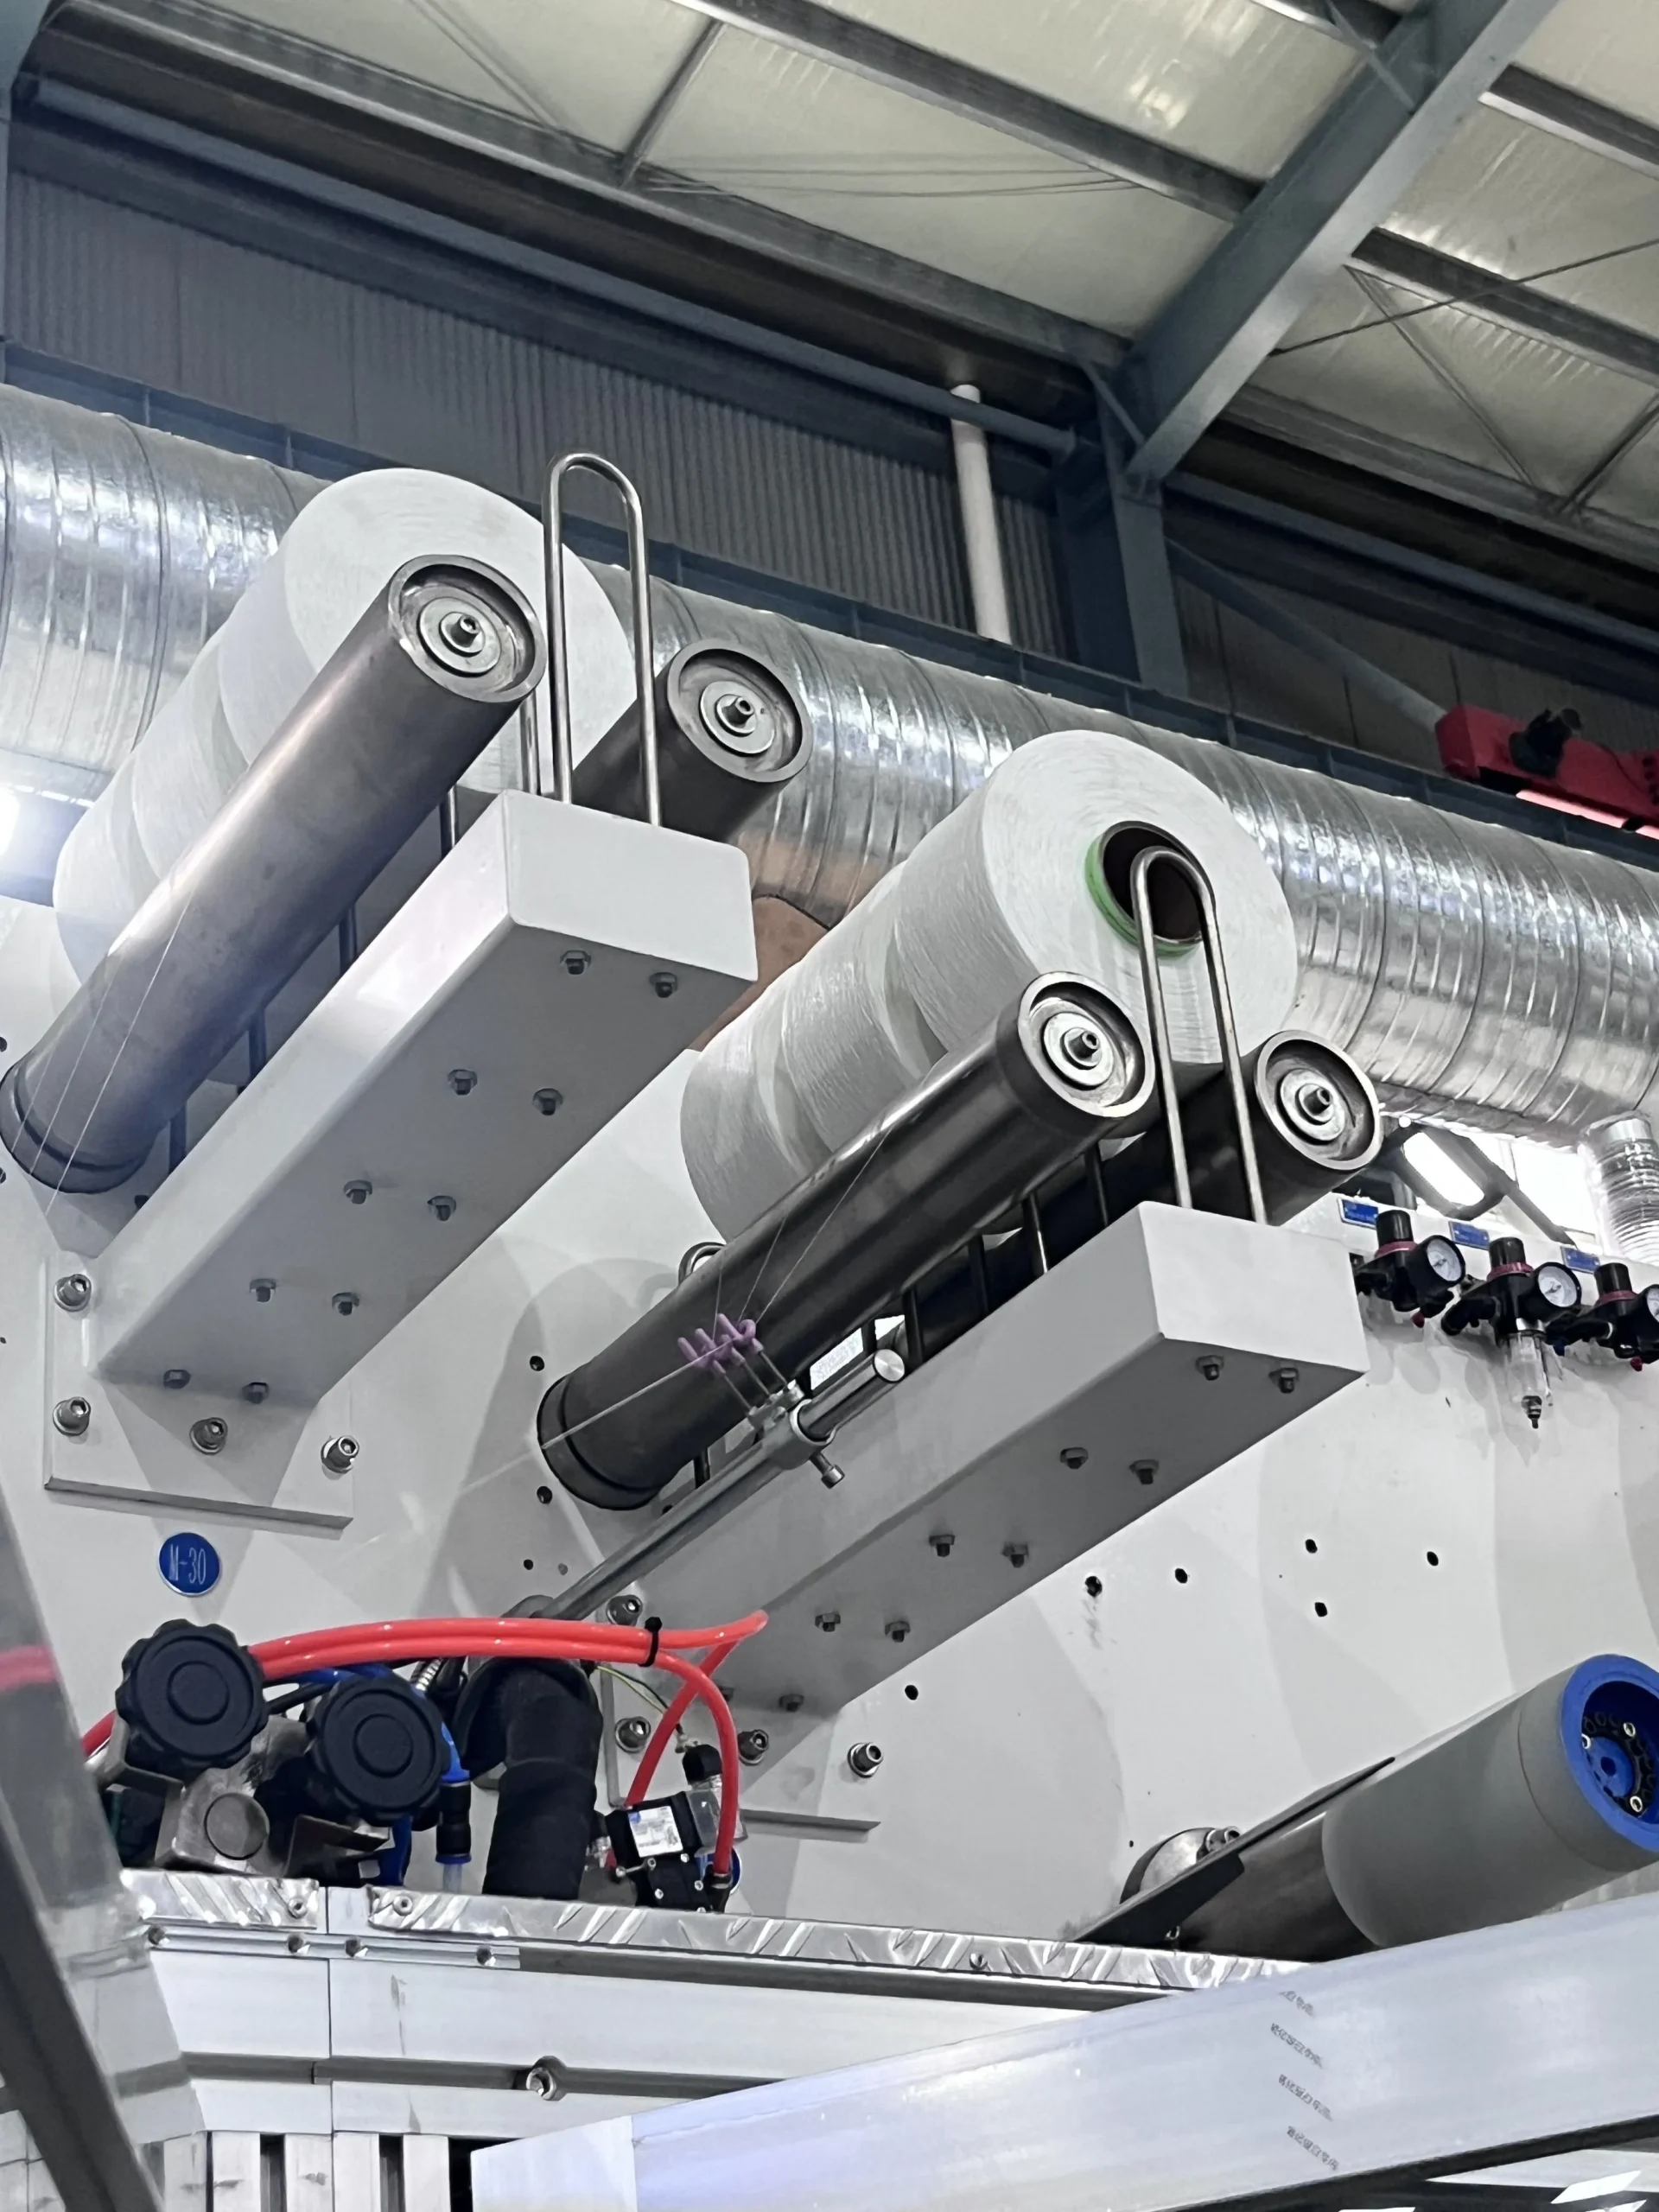
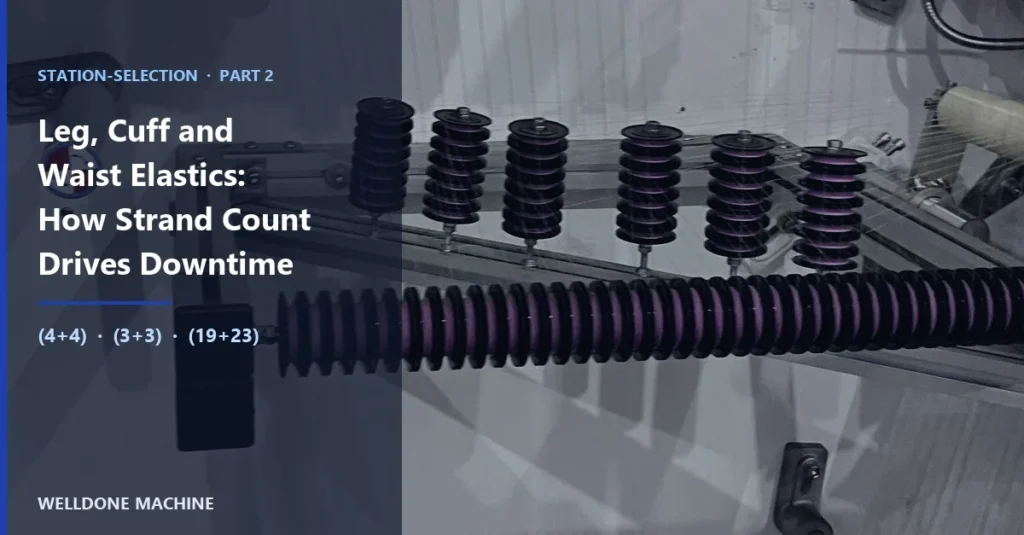
The elastic pre-stretch percentage matters. Baby diaper leg cuffs typically use elastic strands stretched to 200 to 300 percent of their relaxed length before application. When the elastic is bonded to the non-woven and the tension is released, the elastic contracts and gathers the non-woven into the raised cuff structure. If the pre-stretch is inconsistent between the two leg cuffs, the cuffs contract to different heights — creating a visibly uneven product.
Actually, uneven leg cuff appearance is one of the most common quality complaints in finished baby diapers. It is almost always caused by tension variation in the elastic feeding system — either between the two leg cuff stations, or across a full roll of elastic as the roll depletes and the unwinding tension shifts.
The leg cuff application station also determines the fold direction of the finished cuff. In use, the elastic must fold upward and outward against the baby's leg to create the sealing barrier. If the folding geometry is set incorrectly, the cuff folds inward against the core — where it provides no leakage protection and creates a visible manufacturing defect.
3. Waist Elastic System: Fit Around the Baby
The waist elastic system applies stretched elastic material — typically elastic bands or films — across the front and back waist areas of the diaper. When the elastic contracts, it creates the gathered waist that fits around the baby's abdomen and back.
Waist elastic serves two functions. It provides the mechanical fit that keeps the diaper in place during movement. And it creates the visual gathering pattern at the waist that consumers associate with a quality product. Both functions depend on the elastic pre-stretch percentage and the bond quality between the elastic and the surrounding non-woven and film layers.
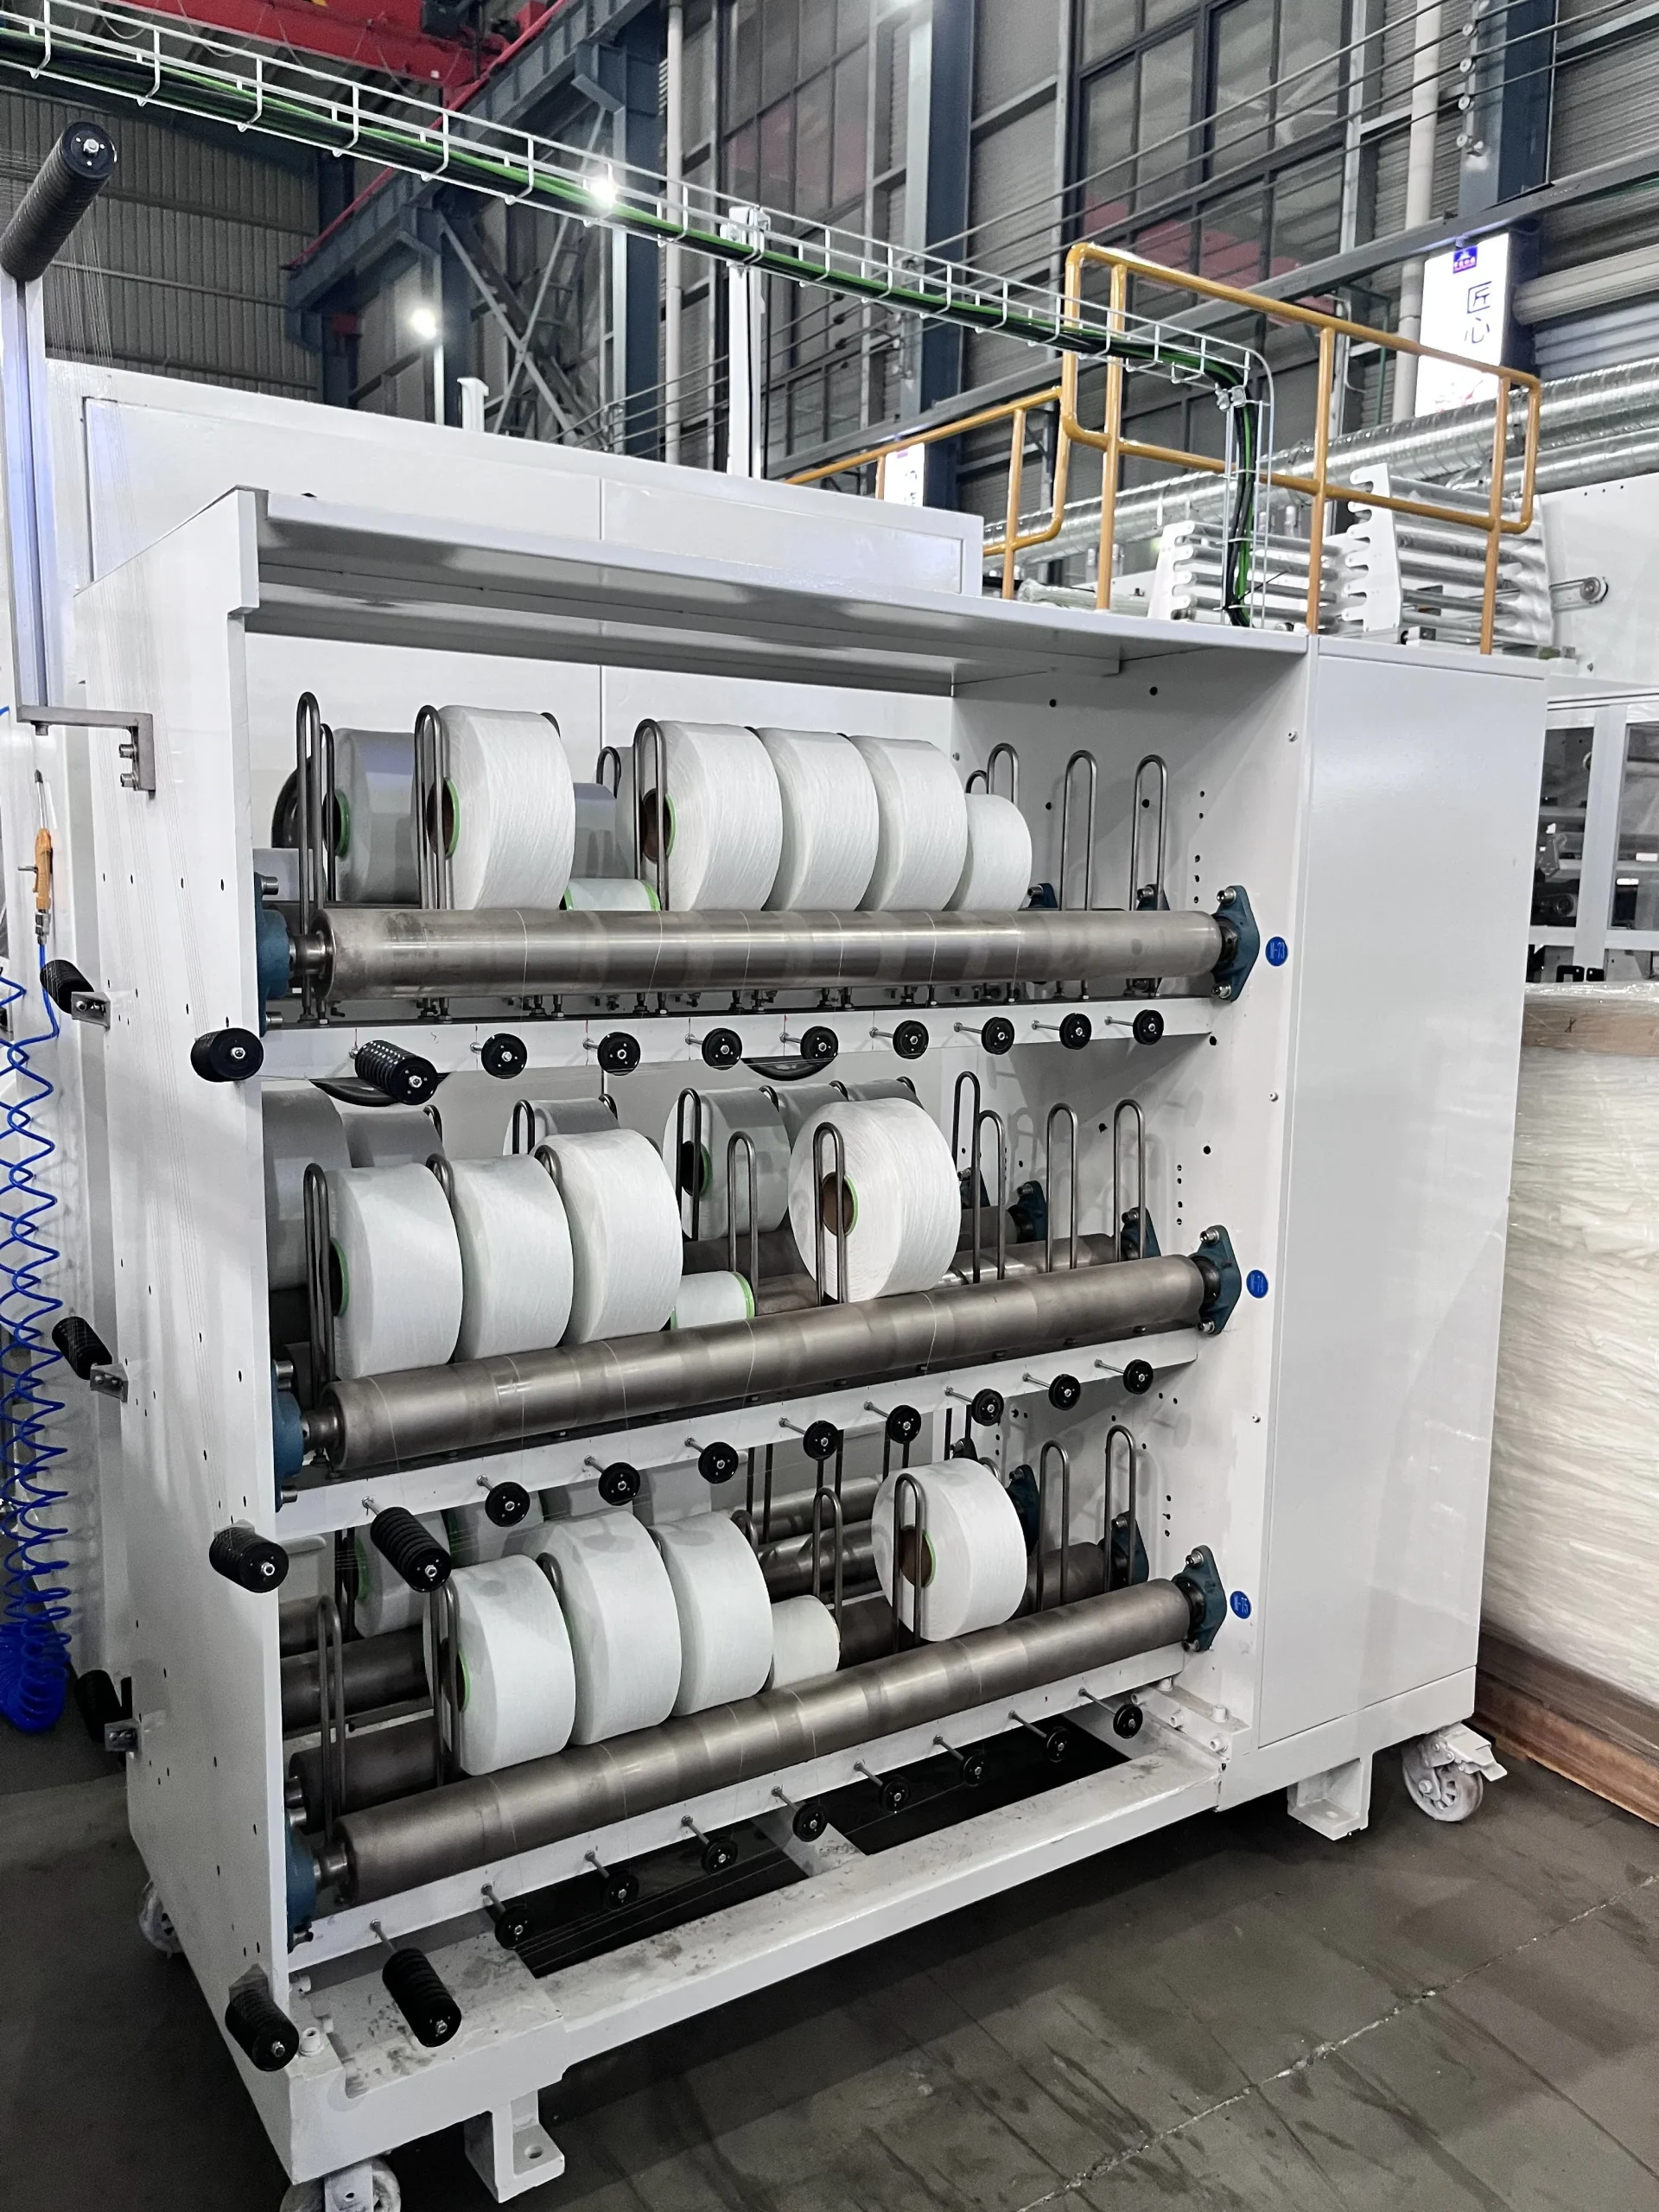
Modern baby diaper lines apply waist elastic as continuous stretched film — often a laminated elastic film that is applied under tension and bonded across a defined waist area. This method produces a cleaner appearance than individual elastic strands but requires more precise tension control across the film width.
If the elastic film tension is uneven across its width, the film contracts asymmetrically after application — creating a diaper with a waist that is tighter on one side than the other. If the elastic film adhesion is inconsistent, sections of the film separate from the non-woven during use, and the waist loses its shape.
The waist elastic system also determines the diaper's overall length. Elastic that is applied at higher pre-stretch produces more contraction after application, which shortens the finished diaper length. This means waist elastic tension is not just a fit variable — it is a dimensional variable that affects every downstream measurement on the line.
4. ADL Placement: The Layer That Manages Fluid Distribution
ADL stands for Acquisition Distribution Layer. It is a specialized non-woven layer placed between the top sheet and the absorbent core. Its function is to receive liquid quickly from the top sheet and distribute it evenly across the core surface — preventing the pooling that would otherwise cause slow absorption and surface wetness against the baby's skin.
Not every baby diaper design includes an ADL. Basic economy products often skip it to reduce cost. Premium products almost always include one, and the ADL specification is often what distinguishes a premium product from an economy one in terms of dryness performance.
When an ADL is included, it must be placed precisely between the top sheet and the core, aligned with the core position, and bonded with adhesive strong enough to hold it in place through the folding and packaging process but not so strong that it restricts fluid movement.
ADL placement failures — misalignment, wrinkled application, or missing bonding — do not always show up in appearance inspection. They show up in absorbency testing, where fluid takes longer to move from the top sheet into the core because the distribution layer is not doing its job. This is a common cause of premium product performance complaints in factories that copied the specification without adjusting the machine to apply the ADL correctly.
5. Back Sheet and Frontal Tape: The Outer Structure
The back sheet is the outer layer of the diaper — typically a PE film or a laminated non-woven and PE composite that provides the leakage barrier and the printed graphic surface consumers see on the finished product. It is applied to the back of the core after the leg cuffs and any elastic components are in place.
Back sheet application requires careful tension control because PE film is far more sensitive to stretch than non-woven material. A PE film that is pulled with even slightly too much tension develops micro-tears at the areas where it wraps around the core edges — invisible in dry inspection, but present as leakage points when the diaper is wet.
The frontal tape is the printed landing strip on the front of the diaper — the surface that the side tape attaches to when the caregiver closes the diaper around the baby. It is a critical functional component because if the frontal tape does not bond securely to the back sheet, the diaper will not close reliably.
Frontal tape application requires precise positioning — typically within ±3mm of the target location across the front panel — and careful control of the adhesive application that bonds it to the back sheet. Frontal tape peel-off complaints from consumers are almost always traced to either insufficient adhesive coverage or contamination on the back sheet surface at the frontal tape bonding zone.
- Back sheet tension must be consistent to prevent stretch-induced micro-tears at core wrap points.
- Frontal tape position tolerance is tight — misplacement affects side tape attachment during use.
- Adhesive application at frontal tape bond zone must be consistent across every unit.
- Back sheet embossing (if included) must not damage the film integrity at the emboss points.
6. Side Tape Application: The Closure That Consumers Test Every Time
Side tapes are the wing-mounted closures on the sides of the diaper that the caregiver uses to secure the product around the baby. In use, the caregiver peels the side tape from its release backing, stretches the wing across the baby's waist, and adheres the tape to the frontal tape on the front of the diaper.
This means every side tape is tested by the consumer every single time the product is used. Poor adhesion, inconsistent peel force, or tape that tears during removal are immediately visible product failures — and consumer response to those failures is fast and unforgiving.
Side tape application on the production line involves several precise operations: cutting the tape to the correct length from a continuous roll, applying a release paper to the adhesive side to protect it during packaging, bonding the tape base to the diaper wing at the correct position, and ensuring the tape's mechanical properties — peel strength, tear resistance, adhesive tack — are within specification before packaging.
I believe the side tape system is the component that separates premium diaper machines from economy ones more clearly than any other station on the line. A precise side tape application — consistent length, correct position, secure bond, clean release paper — is difficult to achieve at 500 units per minute without full servo control across every side tape motion.
7. Embossing and Sealing: Bonding the Diaper Structure Together
Before the diaper is cut into individual products, it must be bonded — sealed at defined seam positions to hold the top sheet, back sheet, core, and functional components together as a single integrated product. This is done by heat sealing, ultrasonic bonding, or embossing depending on the machine configuration and product design.
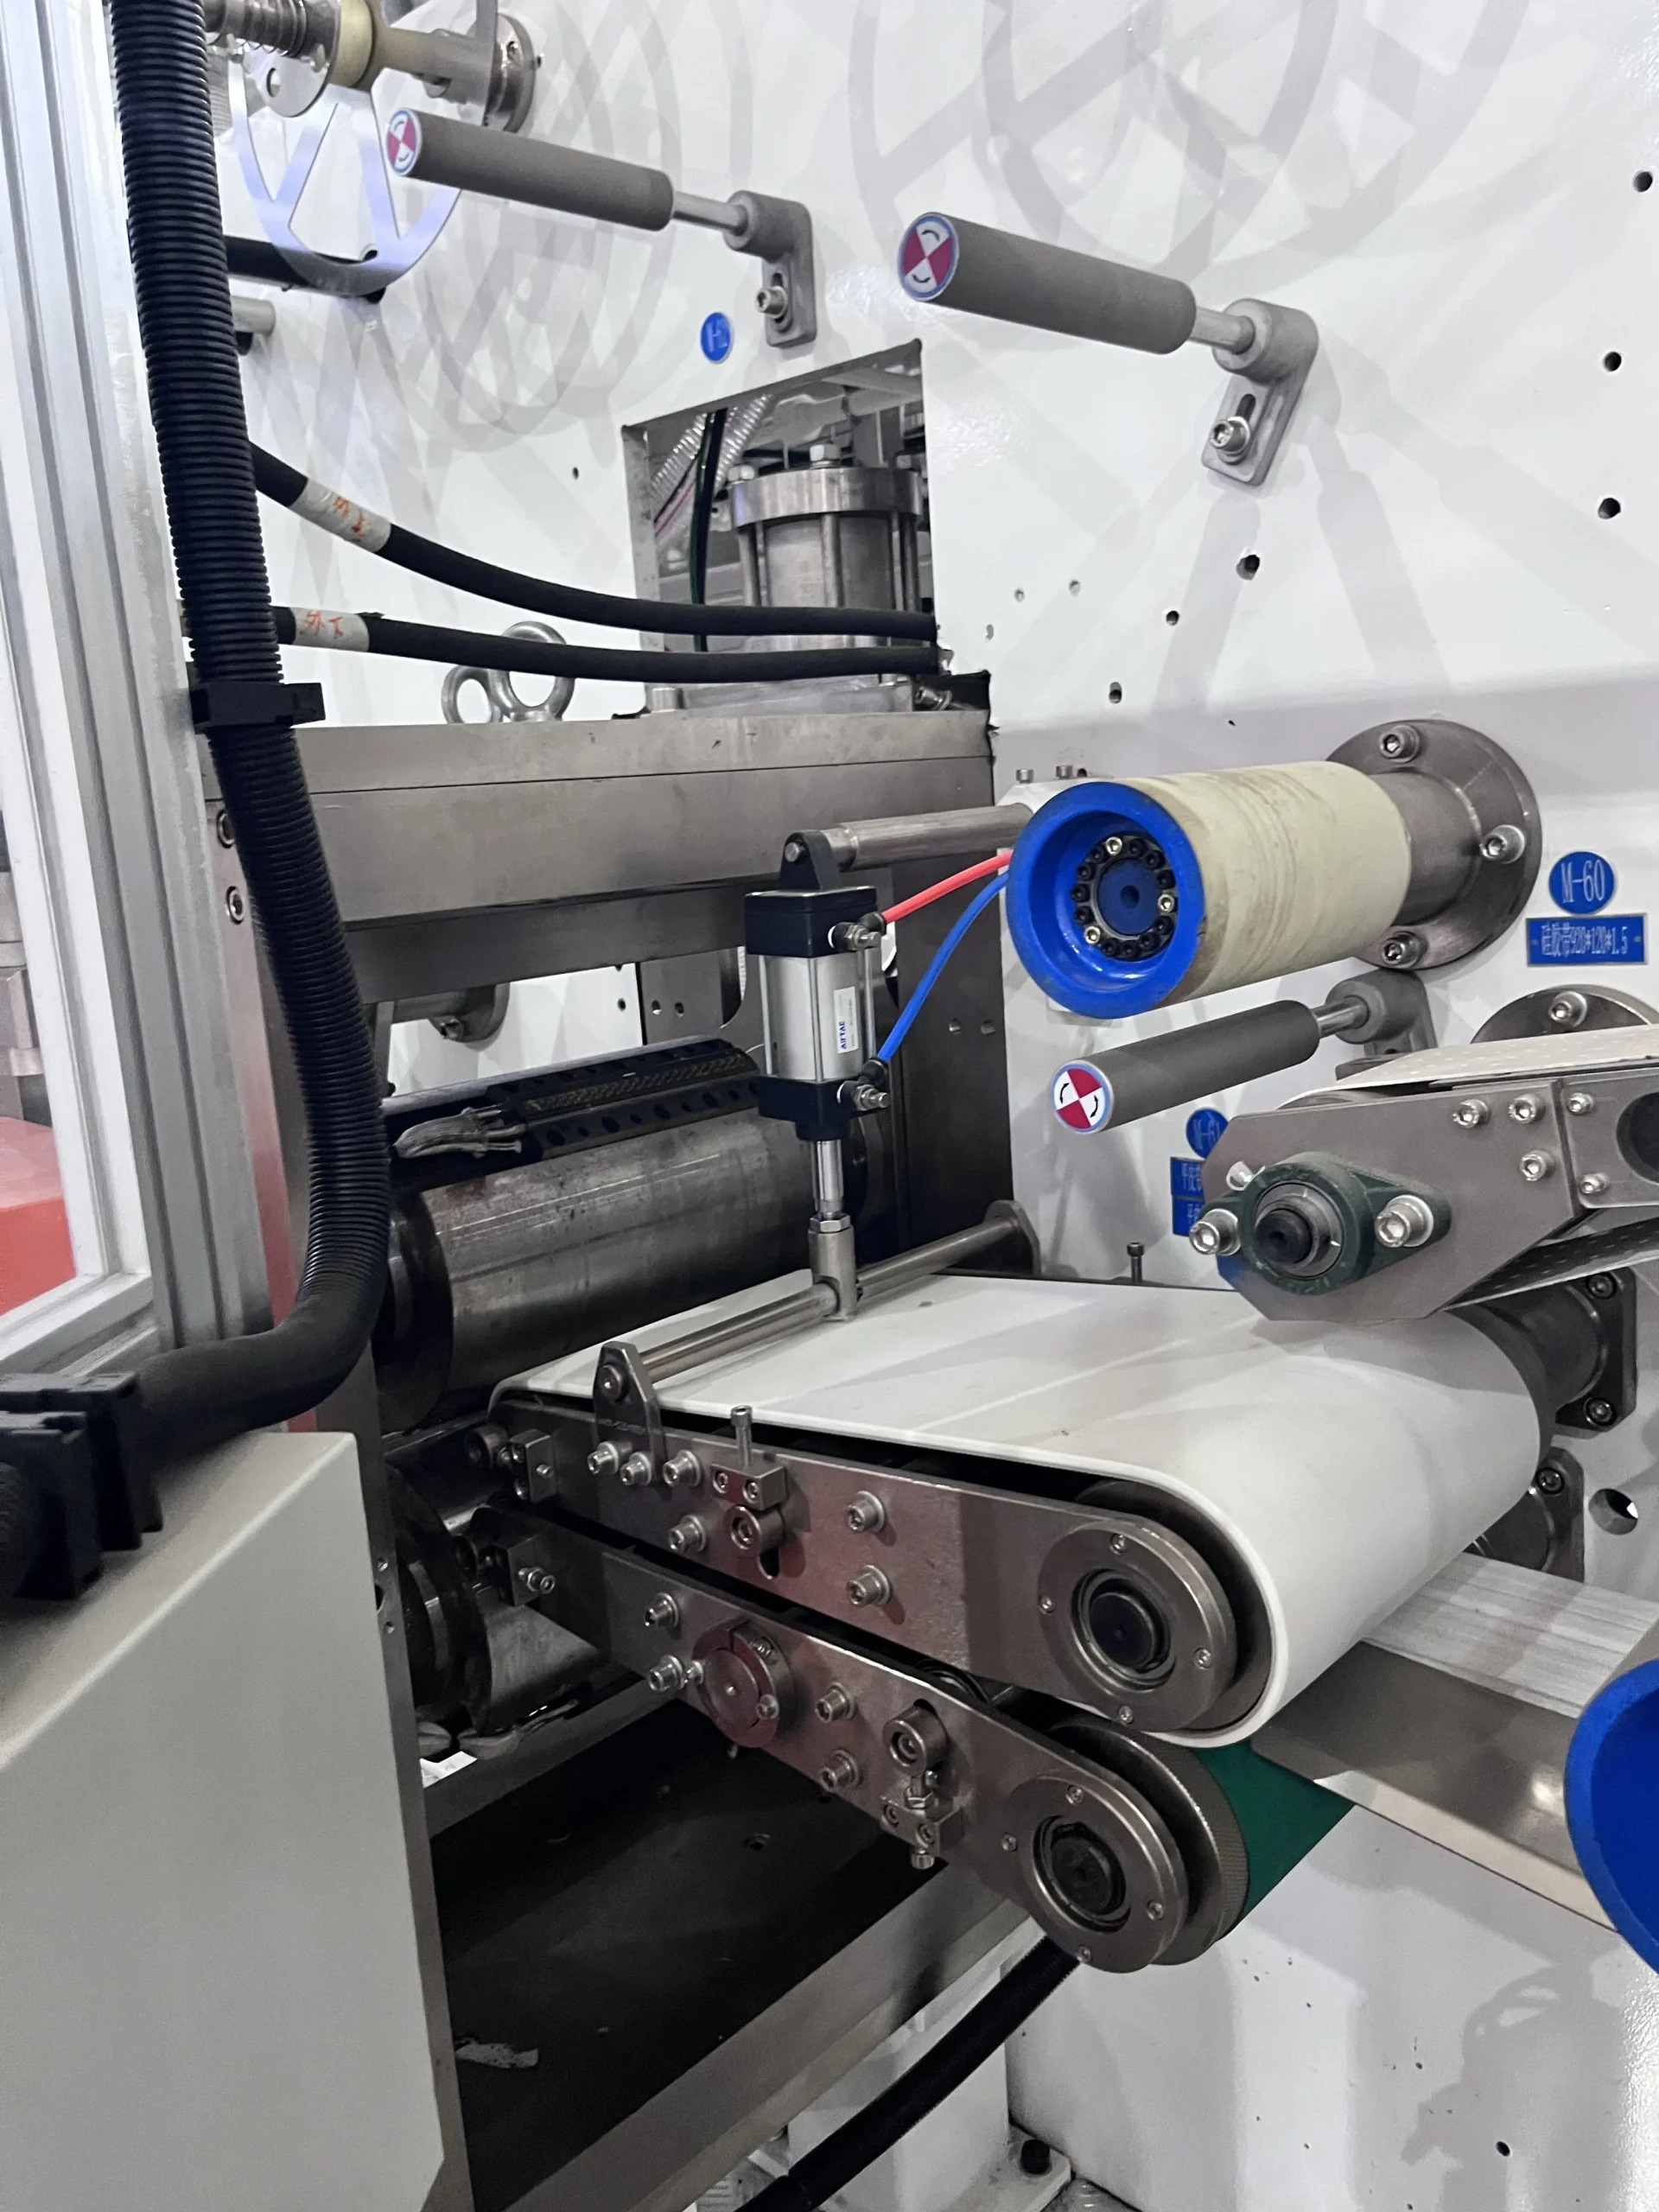
Ultrasonic bonding is the most common method for modern baby diaper lines. High-frequency vibration is applied to the material stack at the target bonding position, generating localized heat that melts and fuses the layers at the bond point without applying temperature to the surrounding material. This produces a strong, precise bond with minimal risk of surface damage.
Embossing serves two functions. It creates the visible pattern on the diaper surface that consumers associate with a quality product — often a brand logo or a decorative texture. It also mechanically bonds the top sheet and back sheet to the core at the emboss points, adding structural integrity to the assembled product.
Embossing depth and pressure must be calibrated to the material stack thickness. Too much pressure or depth cuts through the material — creating a visible damage line that becomes a leakage point. Too little pressure or depth produces a shallow emboss that is not visible and does not bond effectively.
8. The Cutting System: Where the Continuous Web Becomes Individual Products
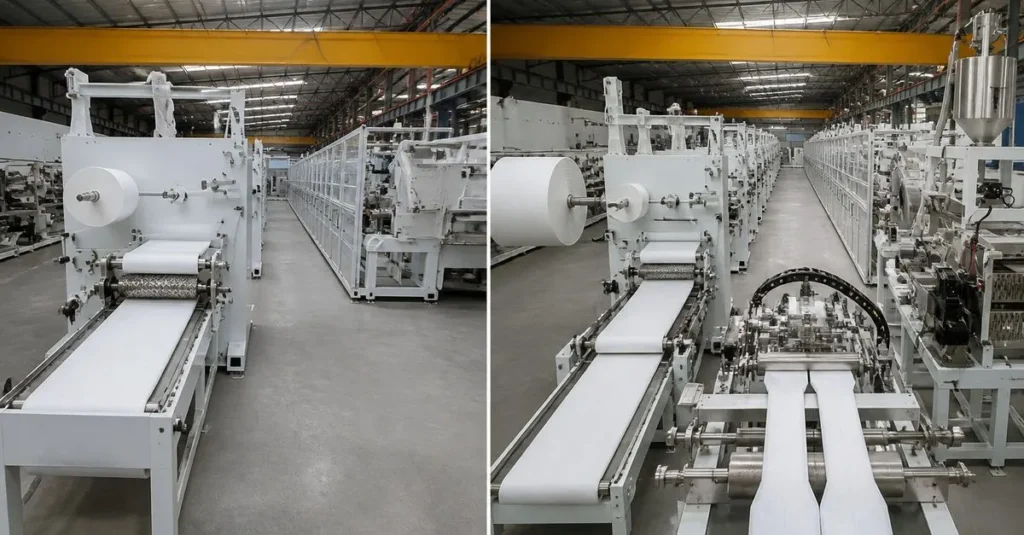
Up to this point, the baby diaper line has been running a continuous web — an unbroken stream of assembled diaper material moving down the machine with functional components applied at intervals matching the product spacing. The cutting system is where that continuous web becomes individual products.
Cutting must be precise in three dimensions. The cut position must fall exactly between two product spacings, not through the middle of one. The cut angle must be perpendicular to the material web to produce clean product edges. And the cut timing must be synchronized with the machine speed so that as the line accelerates or decelerates during startup and shutdown, the cut position remains correctly aligned with the product spacing.
The most common cutting failure is not sharpness — it is timing drift. A cutting blade that is 5 milliseconds late at 500 units per minute cuts through the tail of one product and the head of the next, damaging both units. At 500 units per minute over a full shift, even a low frequency of timing failures can produce significant waste.
Cutting blade wear also matters. A worn blade does not cut cleanly — it tears or crushes the material at the cut point, producing rough edges that reduce product appearance quality and can create loose fibers or non-woven fragments in the packaged product. Blade replacement schedules should be based on production hours or product count, not on visible wear — because by the time blade wear is visible, it has already been affecting product quality for hours or days.
| Cutting Parameter | Effect on Product | Common Failure Sign |
|---|---|---|
| Blade sharpness | Determines edge cleanness and fiber shedding | Rough or frayed product edges |
| Cutting timing | Determines whether cut falls at correct product boundary | Damaged product tails or heads at high frequency |
| Anvil roller pressure | Determines force applied against the blade at cut point | Incomplete cuts requiring manual separation |
| Web tension at cut point | Determines whether material distorts during cutting | Uneven or angled cut edges |
9. Synchronization: What Ties the Middle Section Together
Every station described above operates on the same continuous product web moving at the same line speed. For the finished product to be correct, every station must be synchronized with the product spacing and the line velocity. If any one station drifts out of synchronization — even by a few milliseconds — every component it applies is placed slightly off-position, and every downstream station compounds the error.
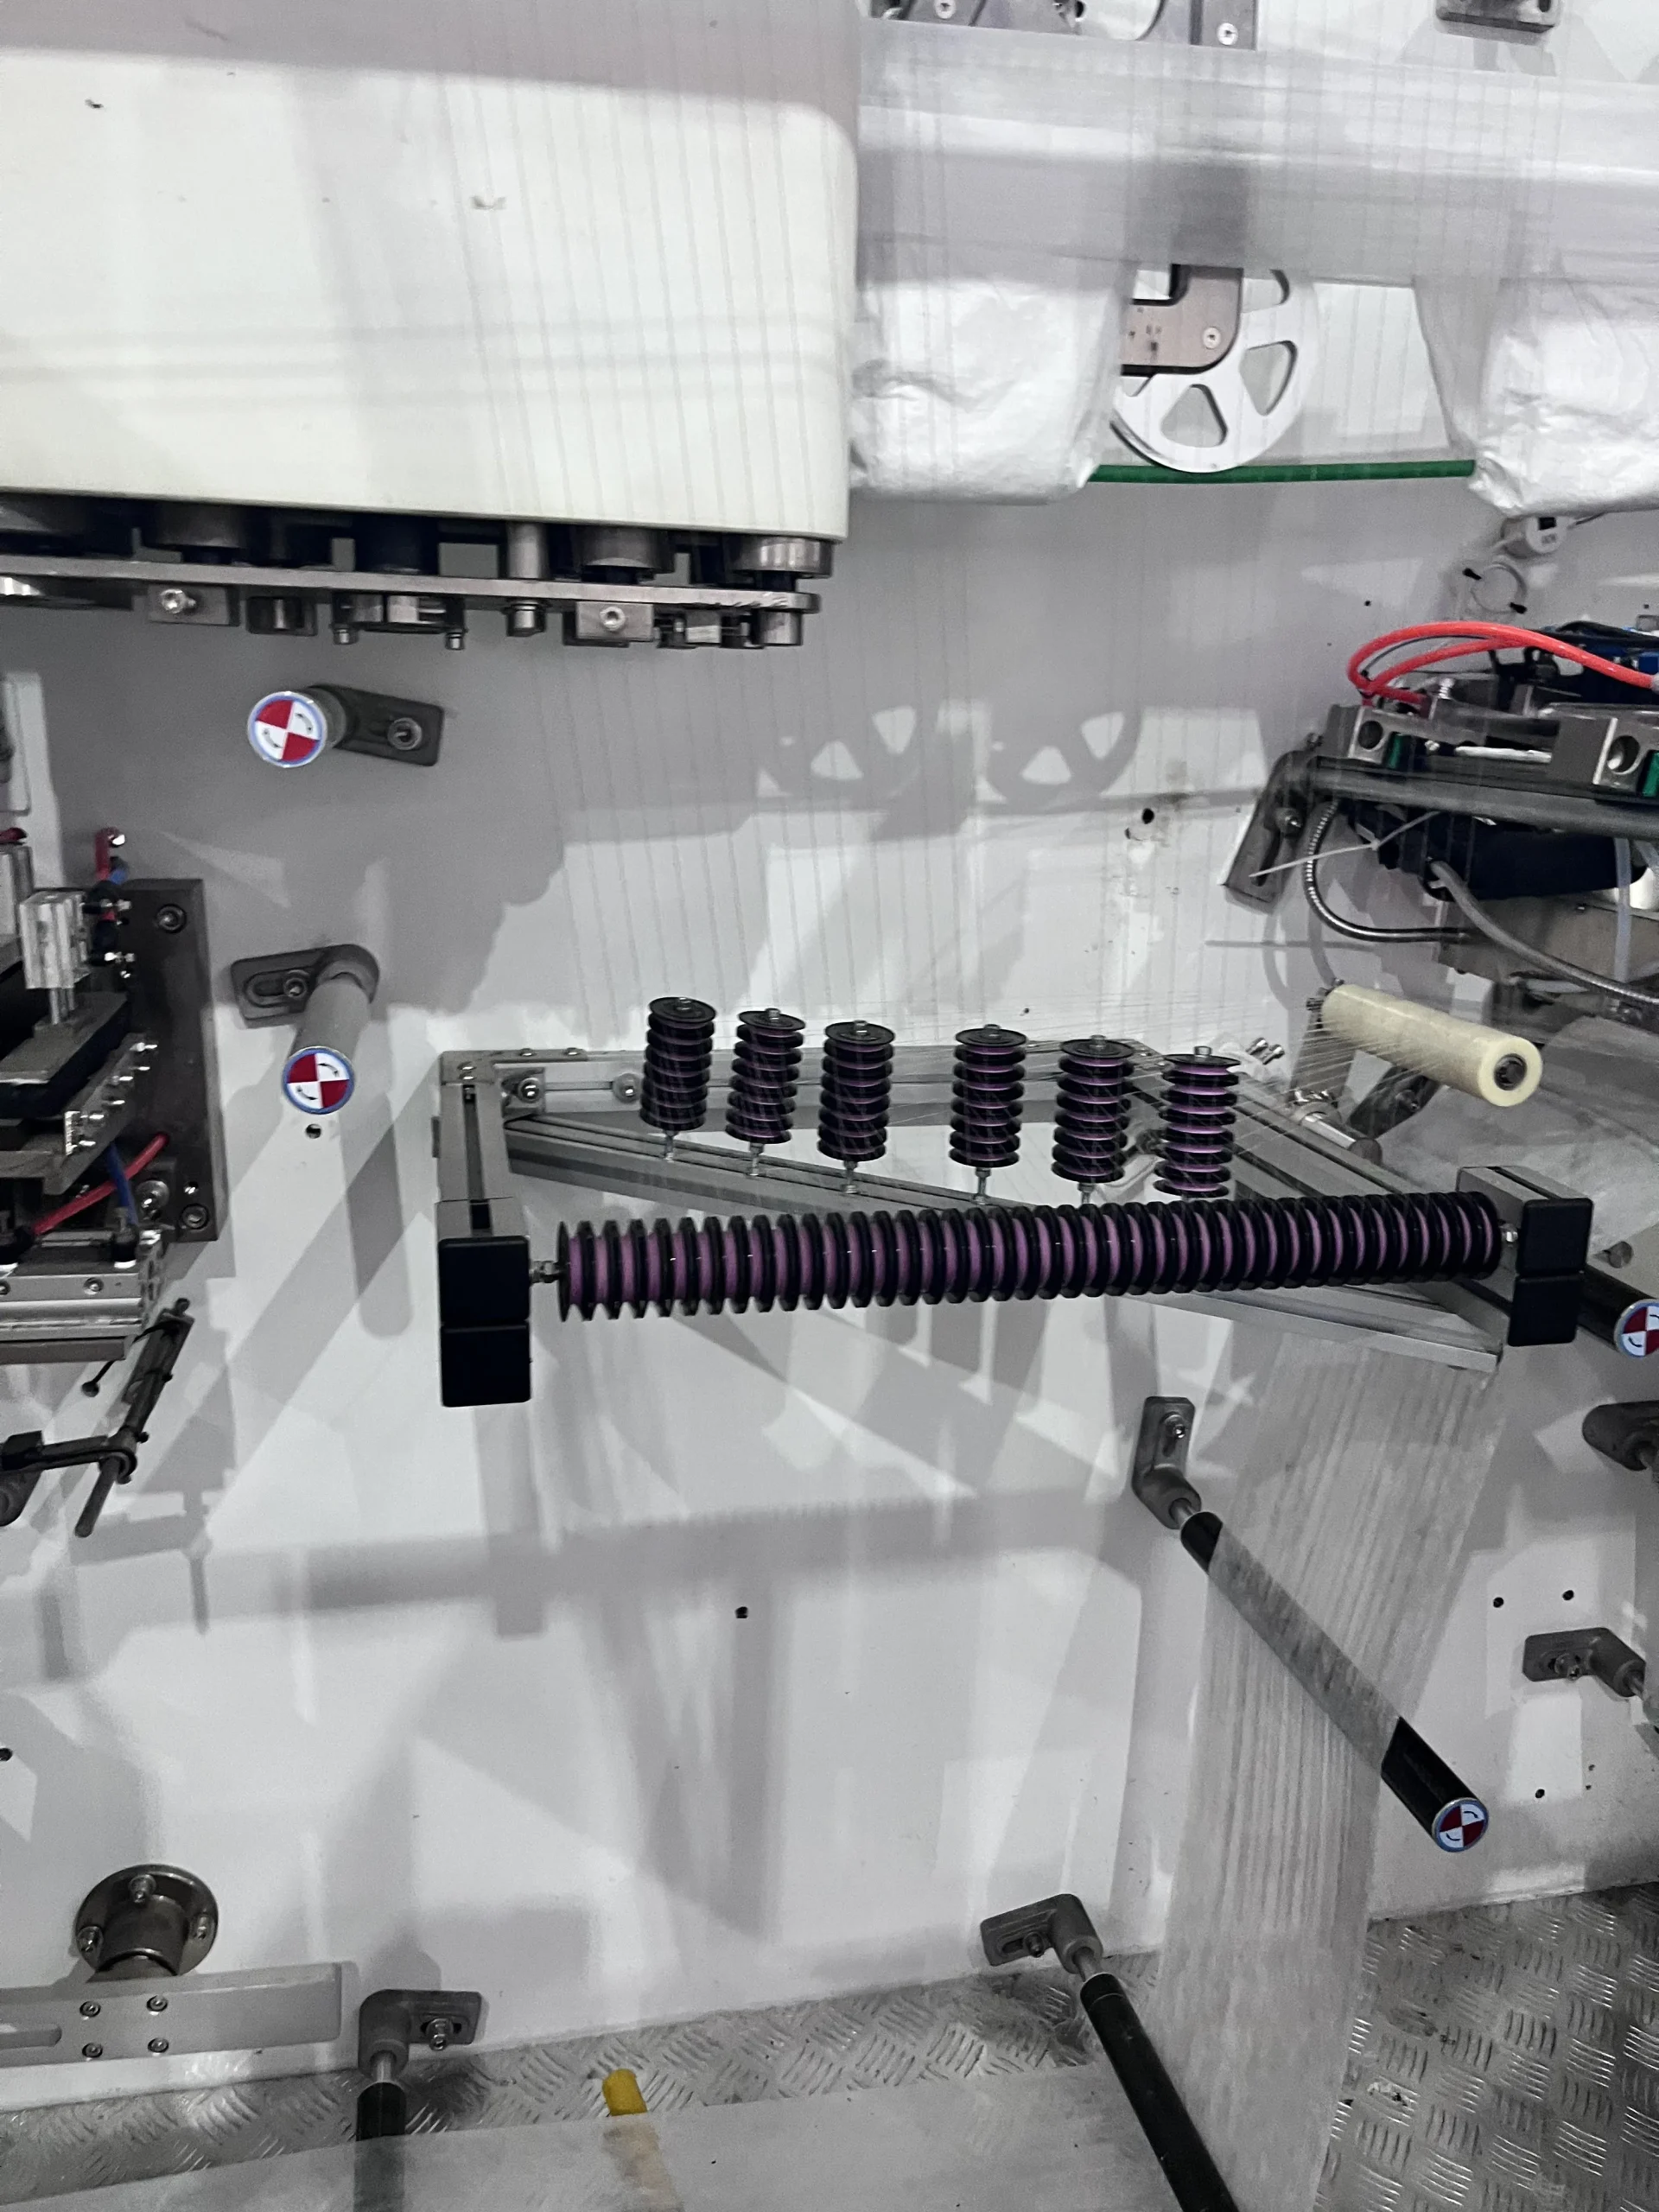
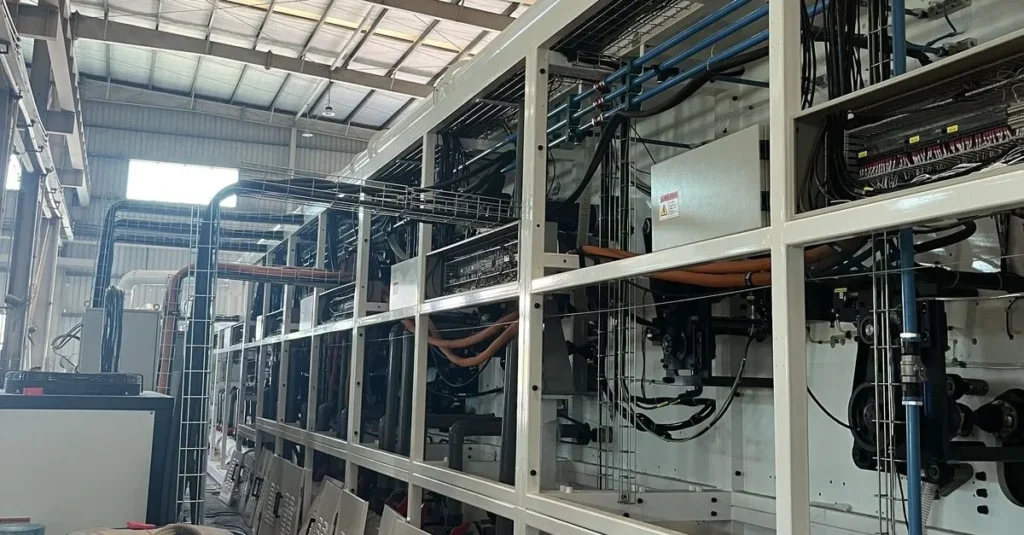
On a full servo baby diaper machine, synchronization is maintained by independent servo motors on each component application station, all coordinated by a central control system through high-speed bus communication. Each servo motor tracks the machine's master reference position and adjusts its timing every few milliseconds to stay locked to the product spacing.
On a mechanical or semi-servo machine, synchronization is maintained by mechanical linkages — cams, gears, and belts that physically connect each station to the machine's main drive shaft. Mechanical linkages do not drift as long as they are in good condition, but they cannot compensate for material batch changes, temperature-related dimensional shifts, or any other variable that changes the effective product spacing during production.
In most cases, the difference between a full servo and a semi-servo machine becomes most visible in the middle section, over time. A well-maintained semi-servo line can produce good product initially. A full servo line maintains that quality across raw material batch changes, temperature swings, and speed variations that a mechanical line cannot compensate for.
10. Middle-Section Failure Modes and What to Check
Uneven leg cuff height between two sides of the diaper
Check elastic tension consistency at both leg cuff stations. Common cause: elastic tension drift as the roll depletes on one station but is fresh on the other. Solution: automatic tension compensation on both unwinding systems, and roll change scheduling that keeps both stations at similar roll diameter.
Frontal tape peeling from back sheet during storage
Check adhesive application temperature and coverage at the frontal tape bonding zone. Common cause: adhesive nozzle partial blockage reducing coverage on one edge of the tape. Solution: adhesive nozzle inspection every shift and cleaning at scheduled intervals.
Side tape release paper misalignment causing product jams downstream
Check release paper feeding tension and cutting timing. Common cause: release paper unwinding tension drift causing the paper to advance faster or slower than the tape. Solution: dedicated tension control on the release paper unwinding station, separate from the tape unwinding.
Product cut through the middle rather than at the boundary
Check cutting blade timing against the machine master reference. Common cause: servo timing drift due to temperature change in the motor drive electronics. Solution: automatic timing calibration during shift startup and after any major speed change.
Emboss pattern faint or invisible on finished product
Check embossing roller pressure and material stack thickness at the emboss point. Common cause: material tension drift causing the effective stack thickness at the emboss point to reduce below the emboss depth setting. Solution: tension monitoring at the emboss station and pressure adjustment procedure documented for operators.
Why Welldone
Welldone is a hygiene product machinery manufacturer under Quanzhou Shimao Weiteng Import and Export Co., Ltd. We have been building baby diaper machines, sanitary napkin machines, adult care machines, and related hygiene product equipment for more than 18 years.
Our baby diaper lines are configured with full servo control across every functional component station — leg cuff, waist elastic, ADL, back sheet, frontal tape, side tape, embossing, and cutting. Each servo motor operates on high-speed bus communication with the central control system, maintaining synchronization within milliseconds across the full production line.
Component application training is included in our commissioning process. Operators are walked through each station individually — what it does, what parameters control it, what to check when quality drifts, and how to distinguish between an application problem and a raw material problem. The goal is that your team can diagnose most middle-section issues without waiting for engineer support.
Full Servo Component Control
Independent servo motors on every functional station, synchronized through high-speed bus communication for millisecond-level tension and timing precision.
Application Tolerance Management
Elastic tension, adhesive temperature, cutting timing, and embossing pressure calibrated as integrated parameters — not as independent settings.
Station-by-Station Training
Operators trained on every component station individually with documented diagnostic procedures for the most common failure modes.
Conclusion
The middle section of a baby diaper production line is where the diaper actually takes shape as a product. Every functional component — leg cuff, waist elastic, ADL, back sheet, frontal tape, side tape, embossing, cutting — is applied to a moving product at high speed, and every application requires precise tension, precise timing, and precise placement.
When any one of these stations drifts, the finished product loses quality — sometimes visibly, sometimes invisibly until the consumer uses it. A factory that understands each station individually can catch drift early and adjust before it affects a full production run. A factory that treats the middle section as a black box will fight recurring quality problems whose root causes are difficult to identify without station-level knowledge.
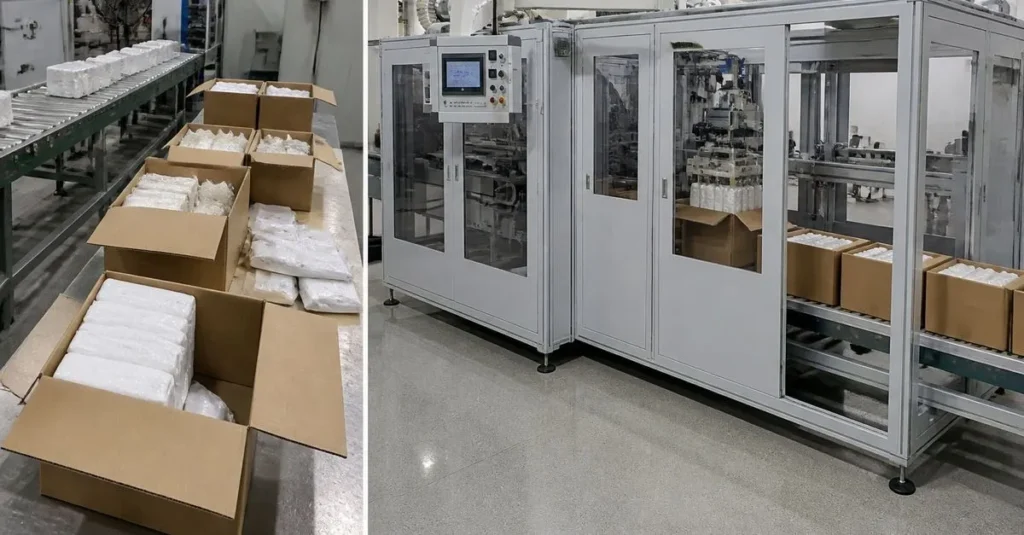
Part 3 of this series covers the final stage of the production line — the folding, counting, packaging, and inline quality inspection systems that complete the diaper's journey from formed product to sealed finished carton ready for shipment.
"The forming drum makes the diaper functional. The middle section makes the diaper sellable. Both matter — but they fail in different ways, and they need to be diagnosed differently."
FAQ
Why is elastic tension so important in leg cuff and waist elastic application?
The elastic pre-stretch percentage determines how much the elastic contracts after application. If the tension varies between the two leg cuff stations or across a full roll of elastic, the two sides of the finished product contract to different heights — creating a visibly uneven diaper. Consistent tension control is what maintains symmetric appearance across every unit produced.
How do I know if my machine's ADL placement is working correctly?
ADL placement is verified through absorbency testing, not appearance inspection. Correct ADL placement produces faster acquisition times and better fluid distribution across the core surface. If your product's acquisition time varies significantly between samples at the same production speed, ADL placement is the first parameter to investigate.
What is the difference between full servo and semi-servo control in the middle section?
Full servo machines use independent servo motors on every component application station, each synchronized through high-speed bus communication with the central control. Semi-servo machines use mechanical linkages for some stations and servo motors for others. Full servo lines maintain synchronization more precisely under changing conditions — raw material batch changes, temperature shifts, speed variations. Our baby care machines are full servo configurations designed specifically for this precision requirement.
How often should cutting blades be replaced on a baby diaper line?
Cutting blade replacement should be scheduled by production hours or product count, not by visible wear. By the time blade wear is visible on the product edges, it has typically been affecting quality for hours or days. Standard practice is to replace blades every 200 to 300 production hours, adjusted based on your specific material combination and cutting frequency.
What causes side tape peeling complaints from consumers?
The most common causes are insufficient adhesive coverage at the tape base, contamination on the diaper wing at the bonding zone, or incorrect release paper application that damages the tape adhesive during removal. Root cause diagnosis requires examining tape samples from both production and packaged product to identify where the failure originated. Our commissioning process includes side tape failure mode documentation as part of operator training.
Planning a Baby Diaper Production Line?
Talk to us before you finalize your machine decision. We will walk you through every component application station, explain the parameters that control each one, and configure the machine for your specific product design and raw material specifications.
Website: www.cnwelldone.com | Email: welldone@cnwelldone.com
Contact Welldone Today